
Welcome to the Into Indie Games walkthrough for Post Trauma.
For more information on Ruffy and the Riverside beyond this guide, check out the official website here.
Update March 2025: This walkthrough for Post Trauma is based on the game’s 2025 demo. It will be updated to reflect the full version of the game when it releases.
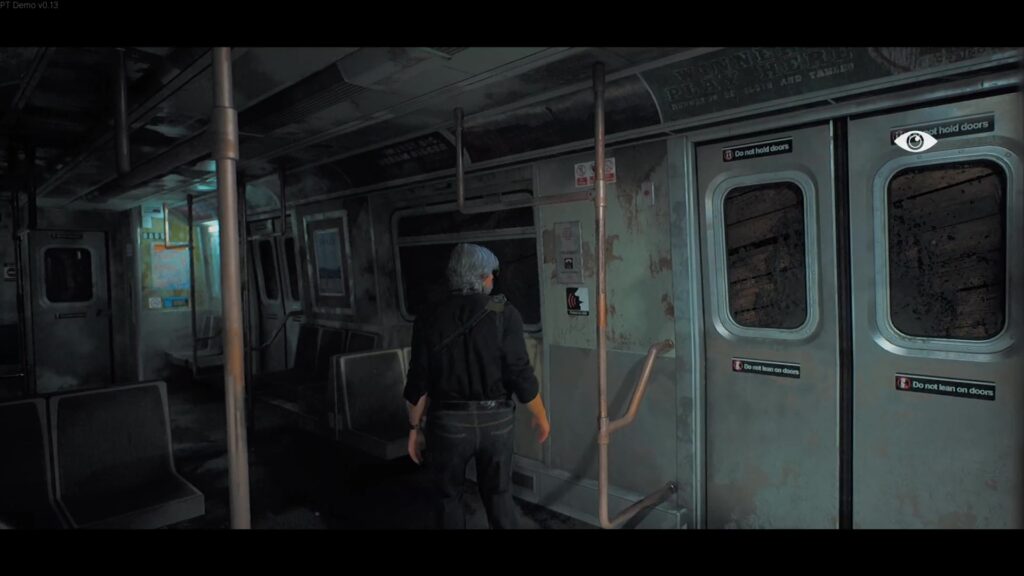
After the introductory cut scene – you wake up in a subway car as Roman. After you gain control of Roman, head straight, check the poster on the wall, and walk into the next car. You can check more posters here. And eventually you will come across a locked door.
The lock has a number combination on it but it’s missing a piece. Turn back and head into the previous car. You will notice a speaker phone on your right and interact with it.
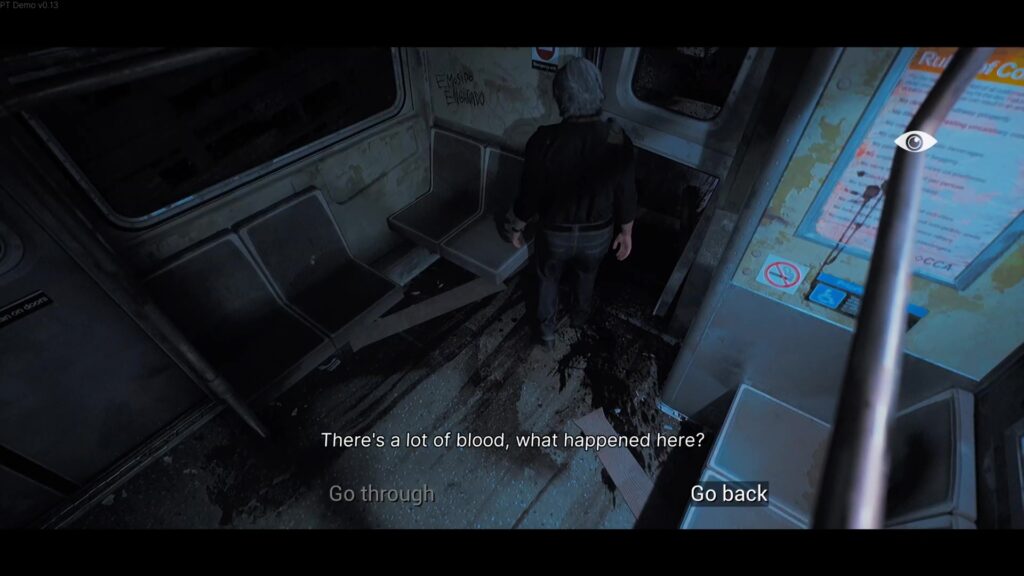
This should open up the doors on the left so head through them. Eventually you will come across a gap in the door in the next car. Crawl through the opening.
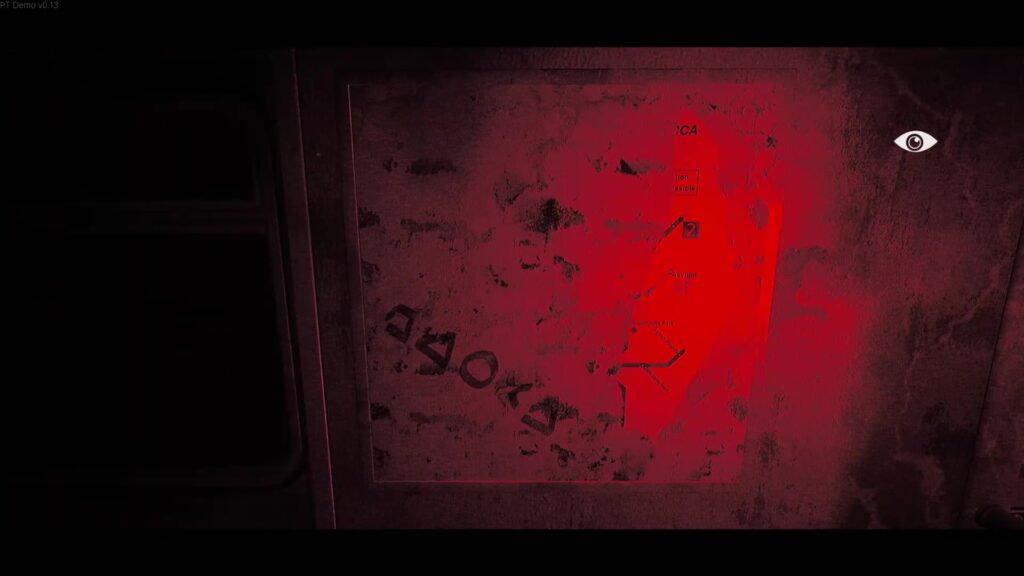
In the next car, you can check the map on the left – glowing under a red light. Take note of the marking here – this is the code for the padlock. All the symbols correlate to the numbers and they are scattered around the cars.
A little further ahead is a mannequin and you can pick up the padlock mechanism from its hand. Head back to the car with the locked door. On your way there, the light will go out. Turn your flashlight on and head straight ahead. Once you get to the padlock, open your inventory and use the mechanism on the padlock.
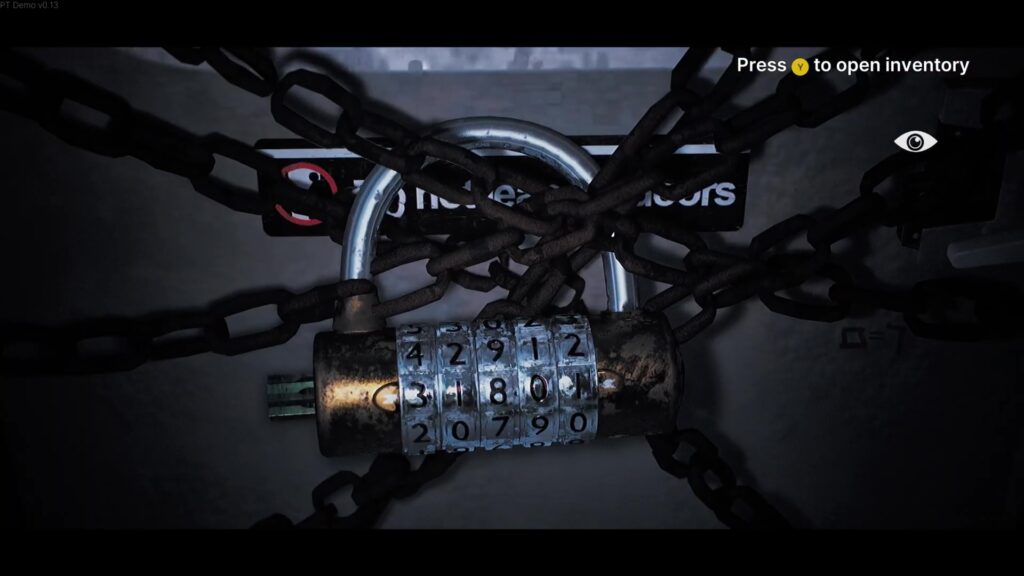
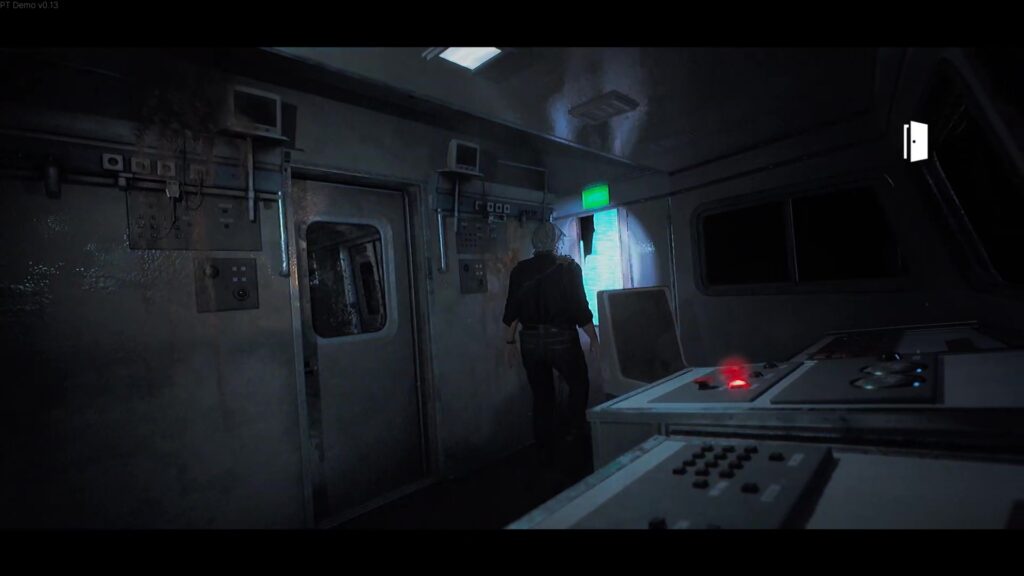
The code translates to – 71651. You will be in the driver’s carriage now. Press the red glowing button and exit the train through the door on the top left of the room.
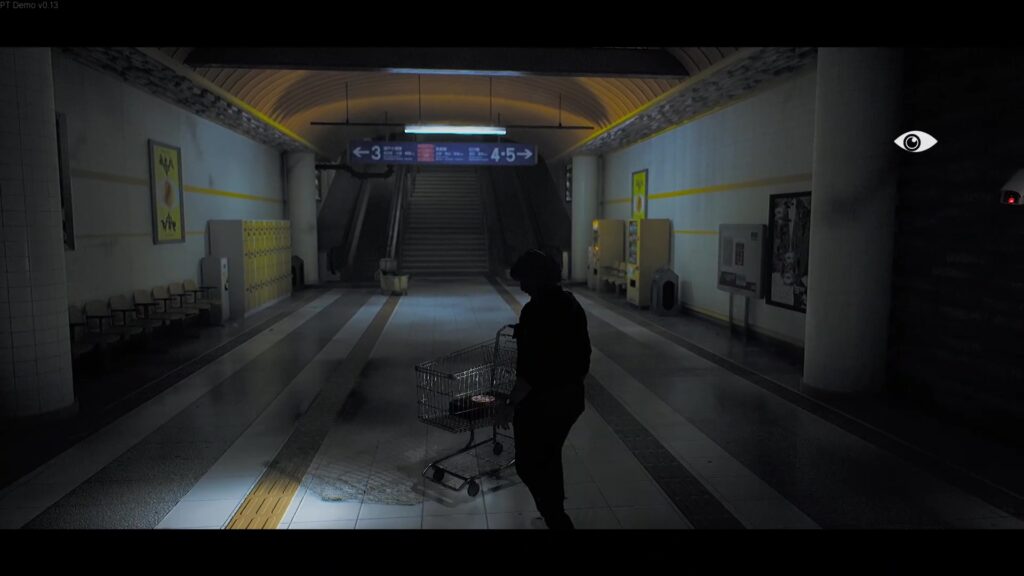
Walk along the tracks and you can see the opening credits rolling. Eventually you will come to the next station – with another stopped train. Get on to the platform here. Check the vending machine and head to the left. Eventually turn right and you will come across a shopping cart where you can pick up a medkit. Check the symbols on the wall and the CCTV camera.
Walk up the stairs ahead of you. At the top you will come across a locked collapsible gate. You need to find something to pry it open. Head back down the stairs. Go back to the symbols on the way and a yellow door has appeared there. There is an inventory chest in there. Pick up the crowbar from the shelf.
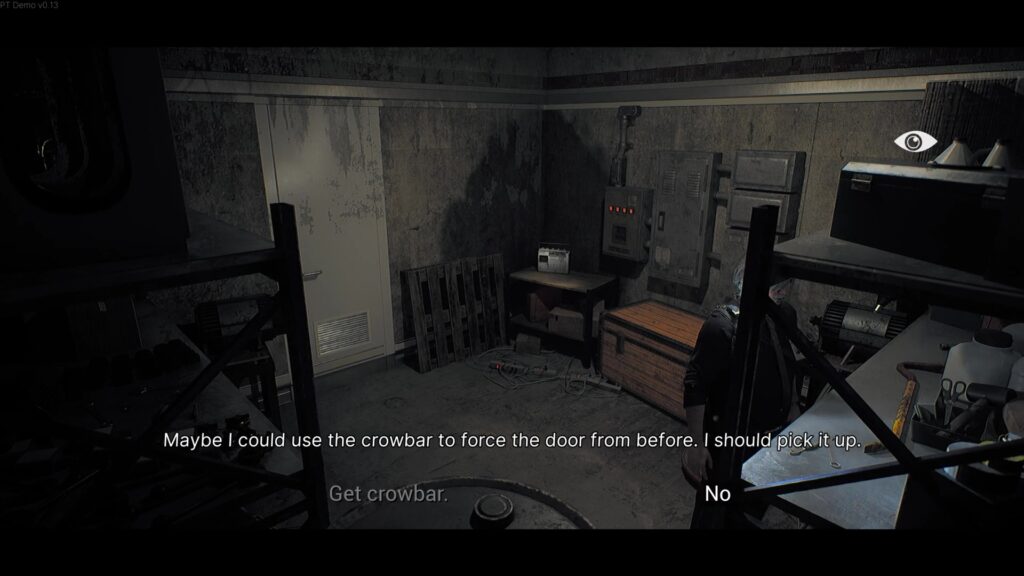
You can swing it as a weapon and as a tool to open the gate we came across on top of the stairs earlier. Go back there and pry open the gate. Walk to the right and you will come up to a glowing light in between the roots. Turn back around and head the other way. Walk through the narrow corridor and another short cutscene will play.
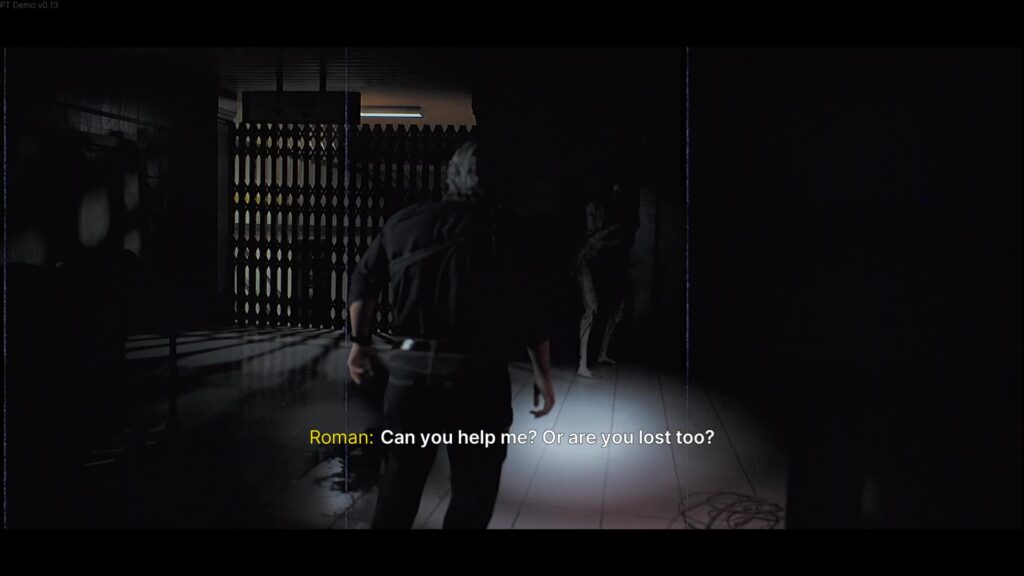
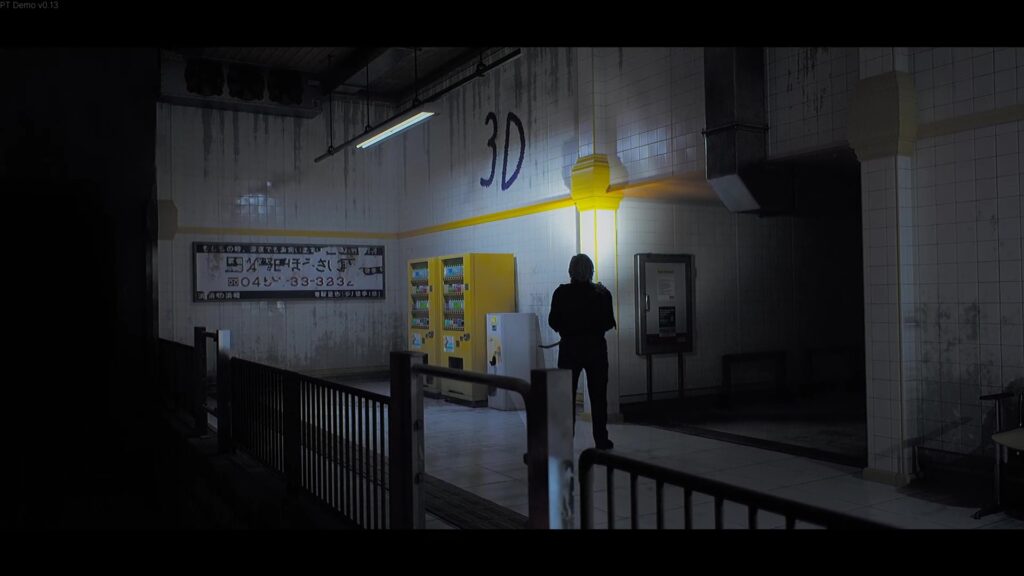
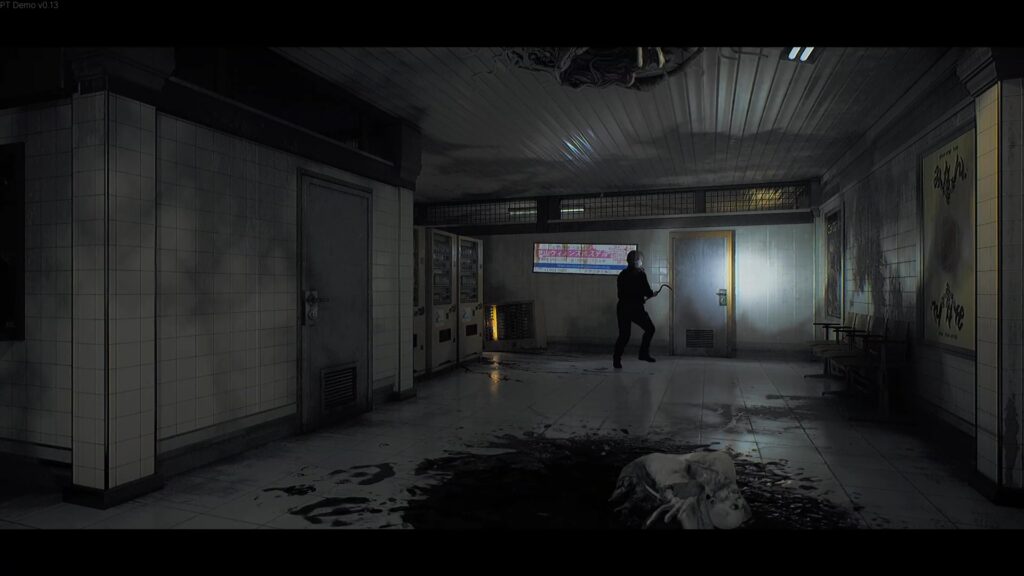
Swing the crowbar to attack and take down the monster. Remember to dodge when she swings at you. Walk to the left and open the gate – and head down the stairs. Open the door at the end and enter the storage room. Save here if you want to. Exit the room and head down the stairs. Walk past the elevators. You will come to another station with the letters “3D” on the wall.
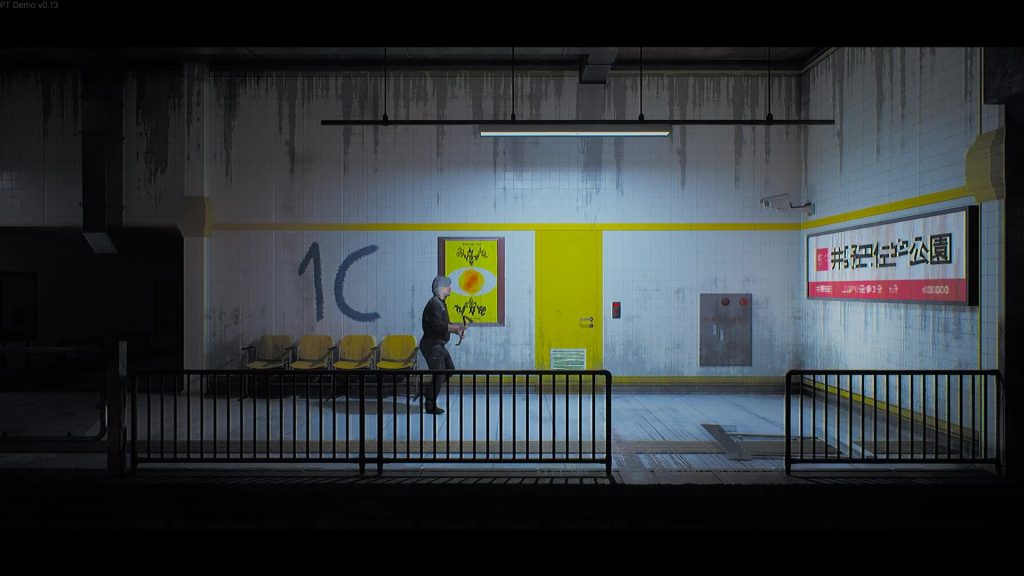
And on the next wall you can see “1C”.
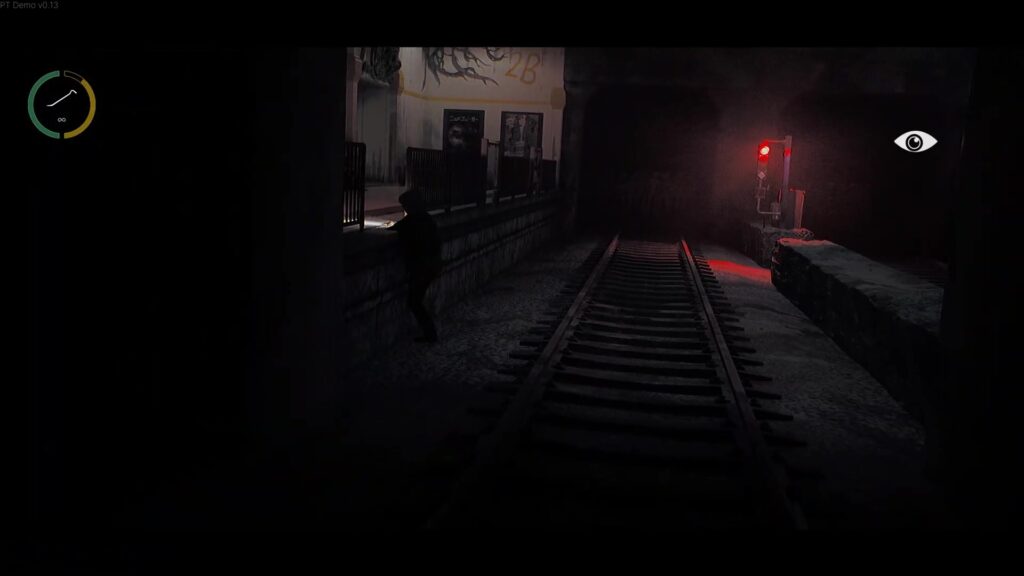
You need a keycard to unlock the door. Jump down on to the tracks here. Cross the tracks to where the signal is and you will find a tunnel full of mannequins. Get up on to the other platform here.
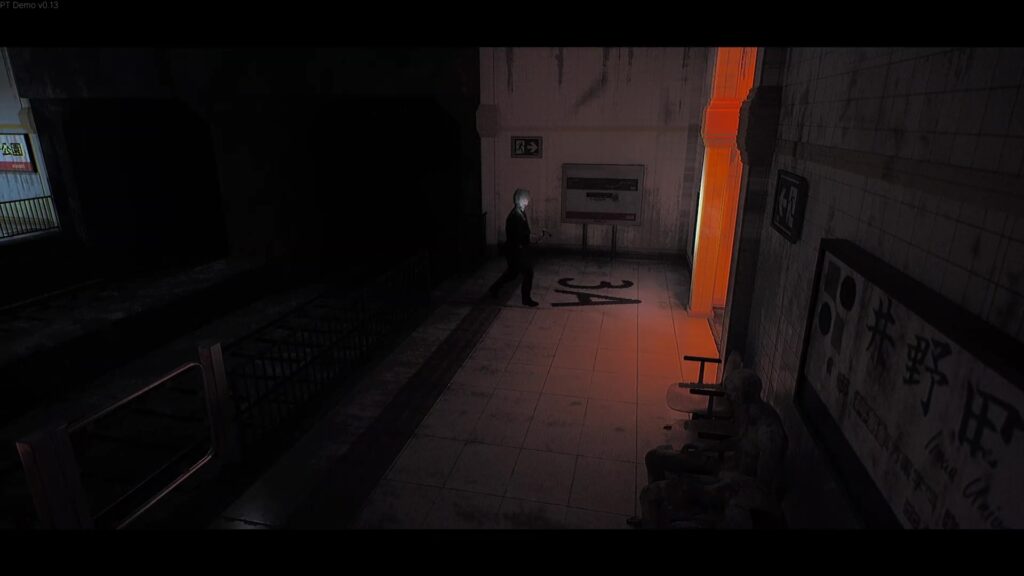
You will notice “3A” on the floor here.
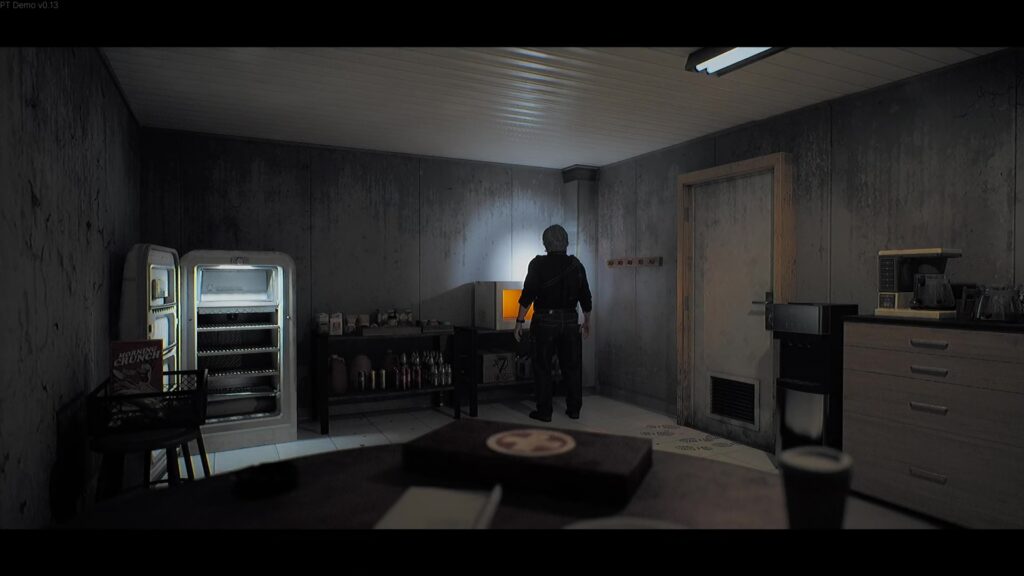
You will find a locked door here as well with a keypad. Head down and the to the left. Enter the kitchen here and inside the fridge is a block of ice. Pick it up and microwave it on the microwave oven next to the door.
Sorry that will not work and the microwave will short out. Use the coffee pot on the ice block to get a fuse.
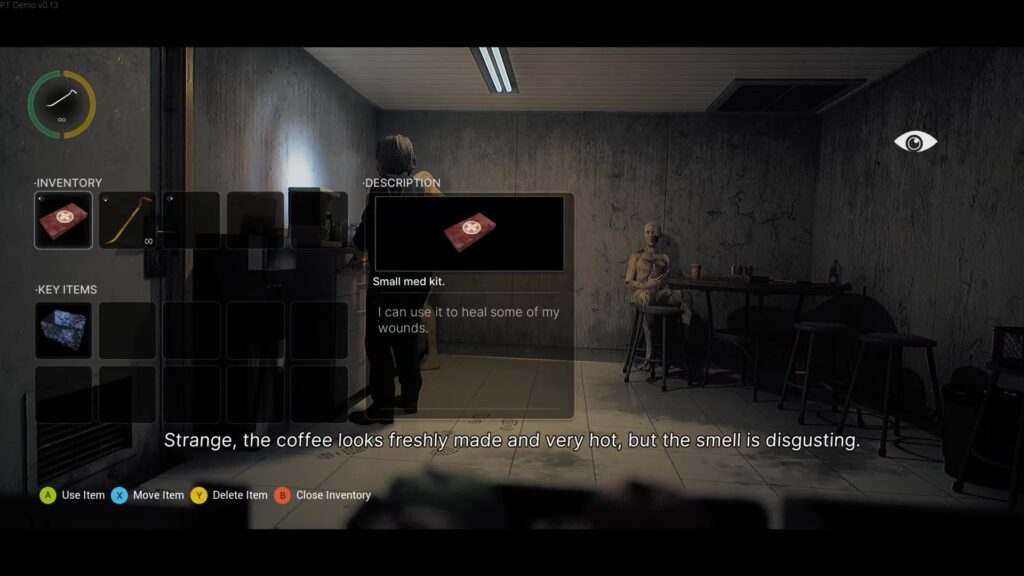
Pick up a medkit from the table. Exit the room and head round the corner with the vending machines – you will find a hand stick out of a machine here with another fuse.

Next enter the door on the right. Head up to the vending machine and pick up the metal wire.

Head back the way you just came but exit back to the area with the vending machines. Go back to the north side of this area and inside the wire cage – where you can see another fuse.
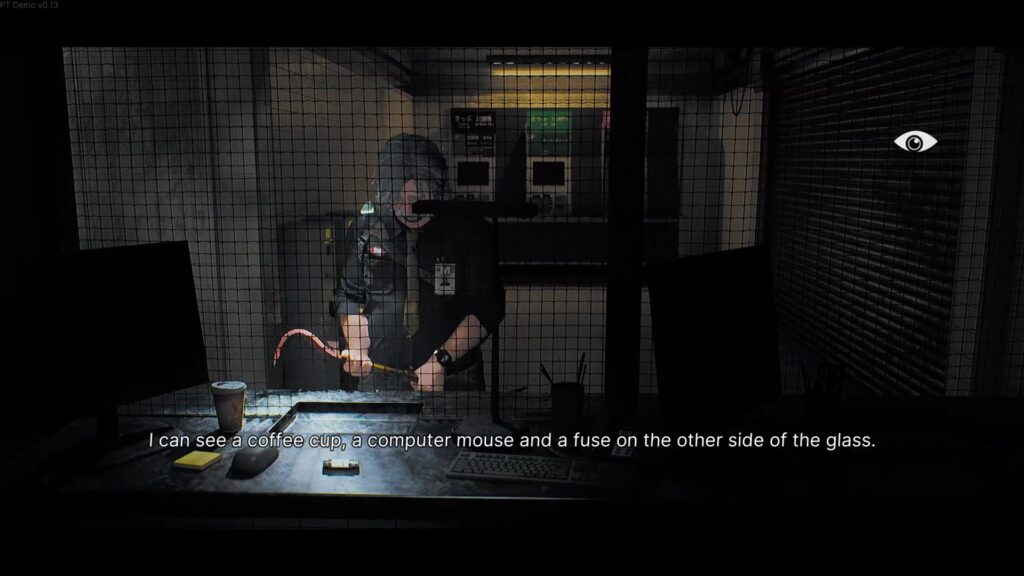
Use the metal wire you picked up earlier to get the fuse. Once you exit this area you will find a monster crawling on the floor. Head through the door at the end of the room here.
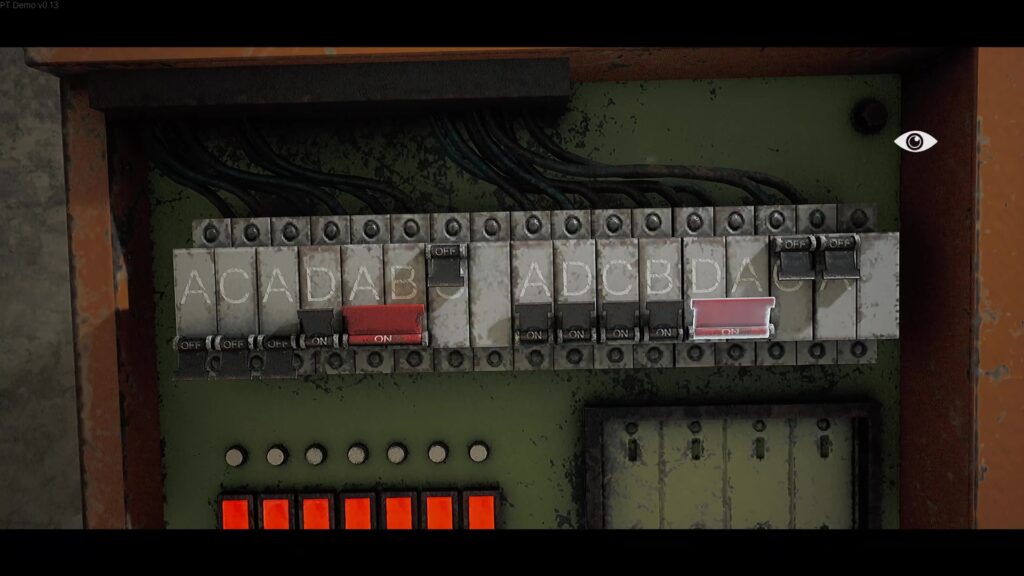
Insert all three fuses in the fuse box here. Next to the fuse box is a switching panel. Change the panel to look like this in the picture below.
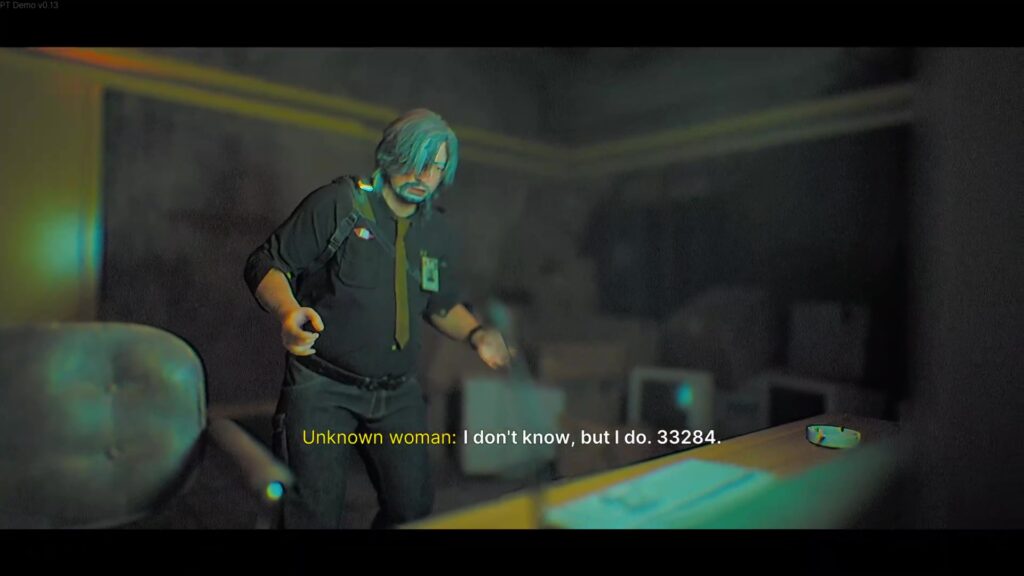
This will start the fan and an employee key card will drop. Head back to the tracks and cross over to the other side. Go to the door near the “1C” marking. Use the Key Card and enter the room. Watch the cutscene and eventually the woman – Jill – on the speaker will give you the door code.
Go back out to the tracks.
Thank you for reading this walkthrough for Post Trauma! For more interesting articles on all things indie games, be sure to check out the links below.